Achilles Tendinities

Shipping

Returns

Pay Later

Eligible

& Operated

Pain Relief
Get FREE Electrodes
Watch both videos to the end to get your promo code for FREE electrodes.
How To Redeem Your FREE Pads
Step 1 - Collect your promo code
Step 2 - Add electrodes to your cart
Step 3. - Use the code at checkout
Electrode Placement Guide
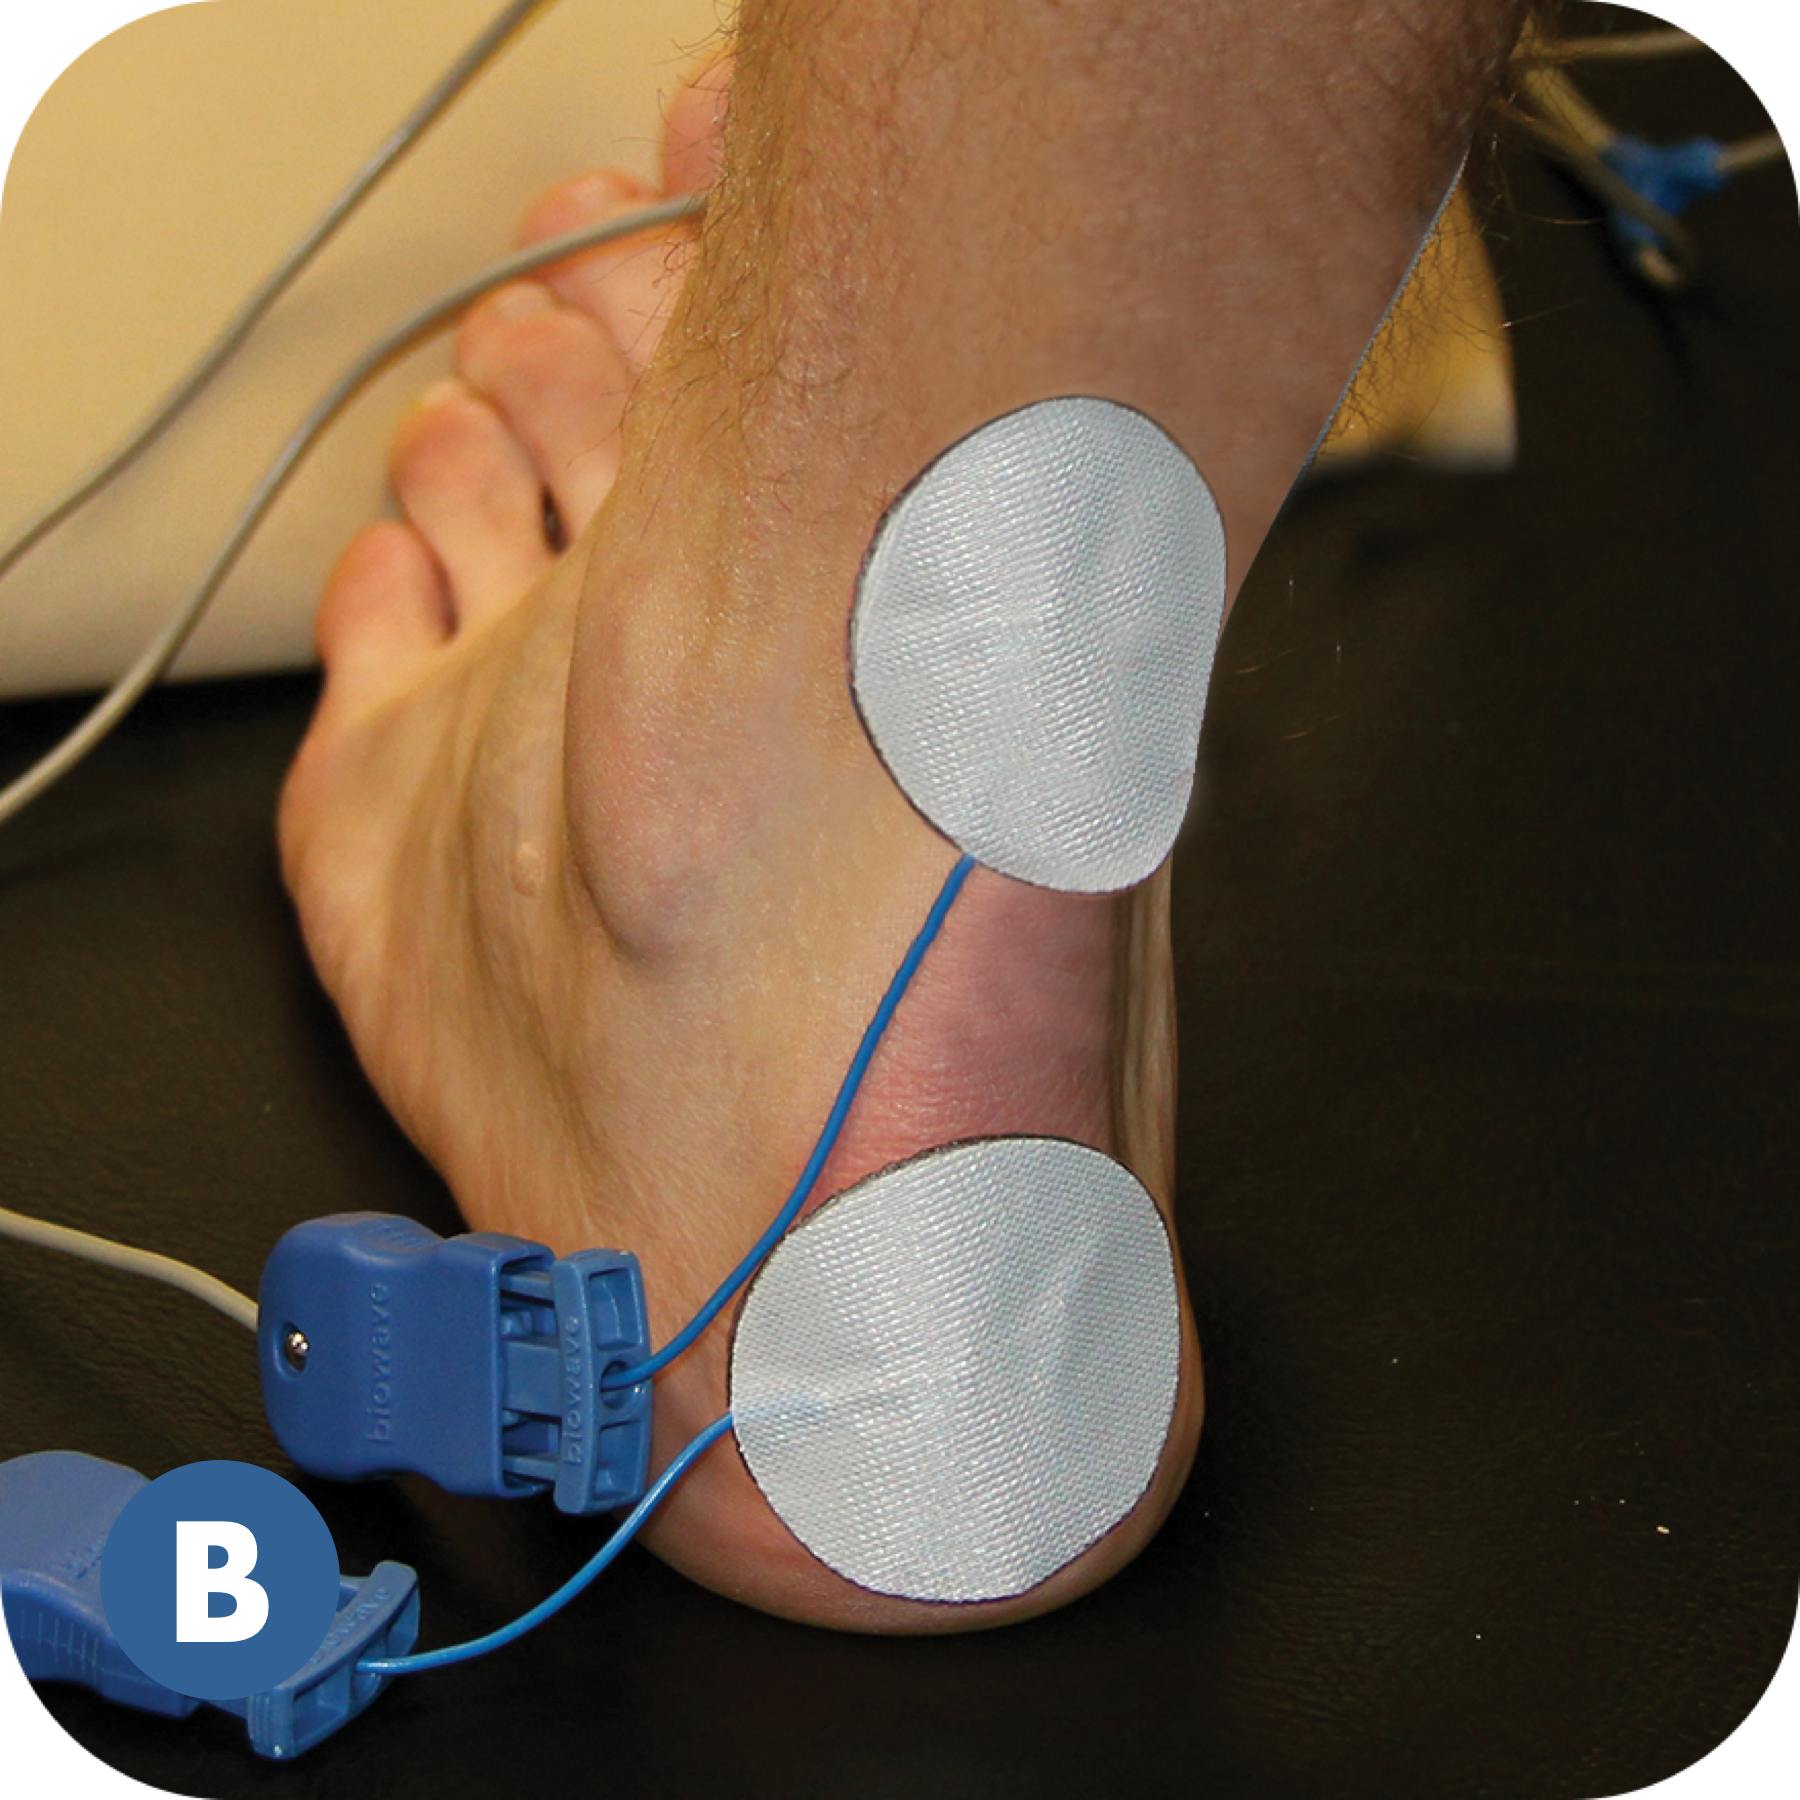
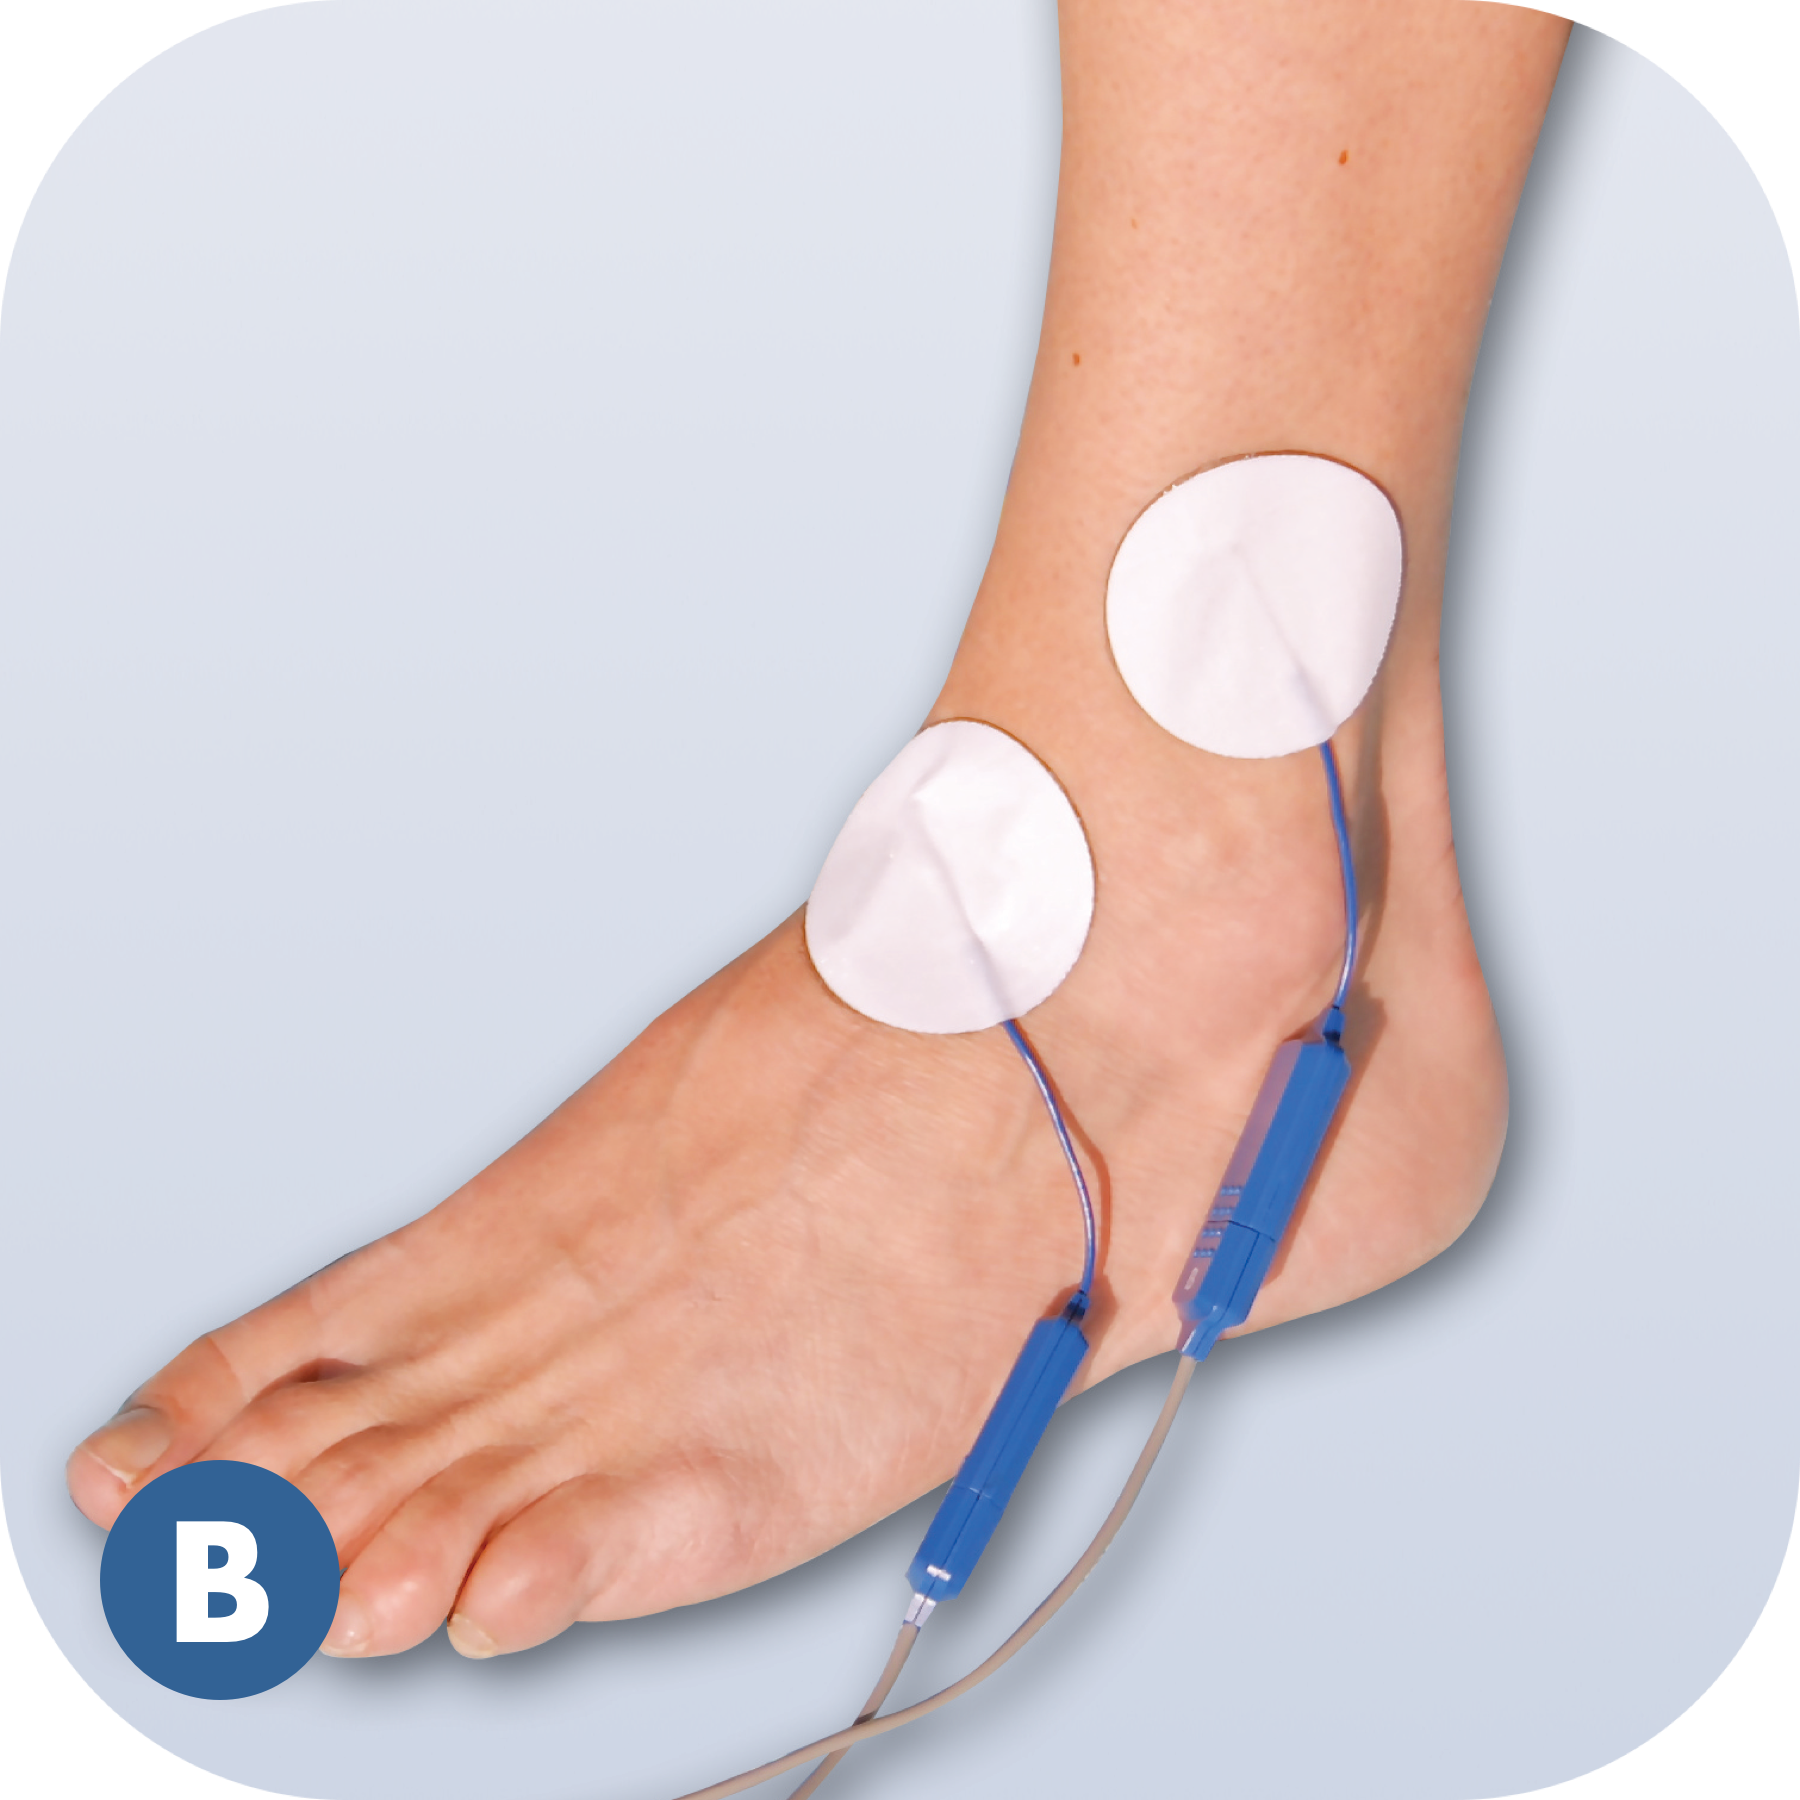
Foot or Ankle Pain in Two Locations (High Ankle Sprain)
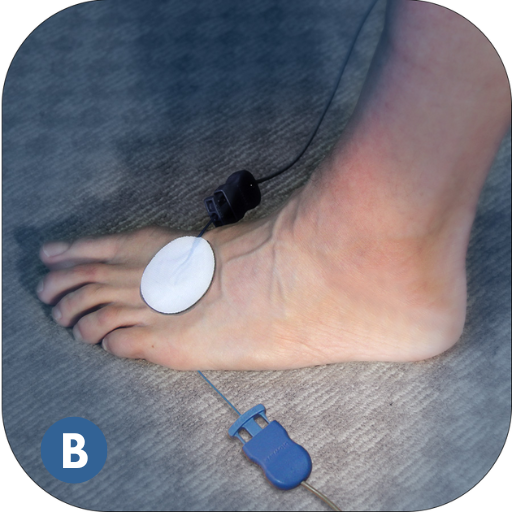
Pain in Top of Foot Second Pad of Bottom of Foot Under Pad metatarsal
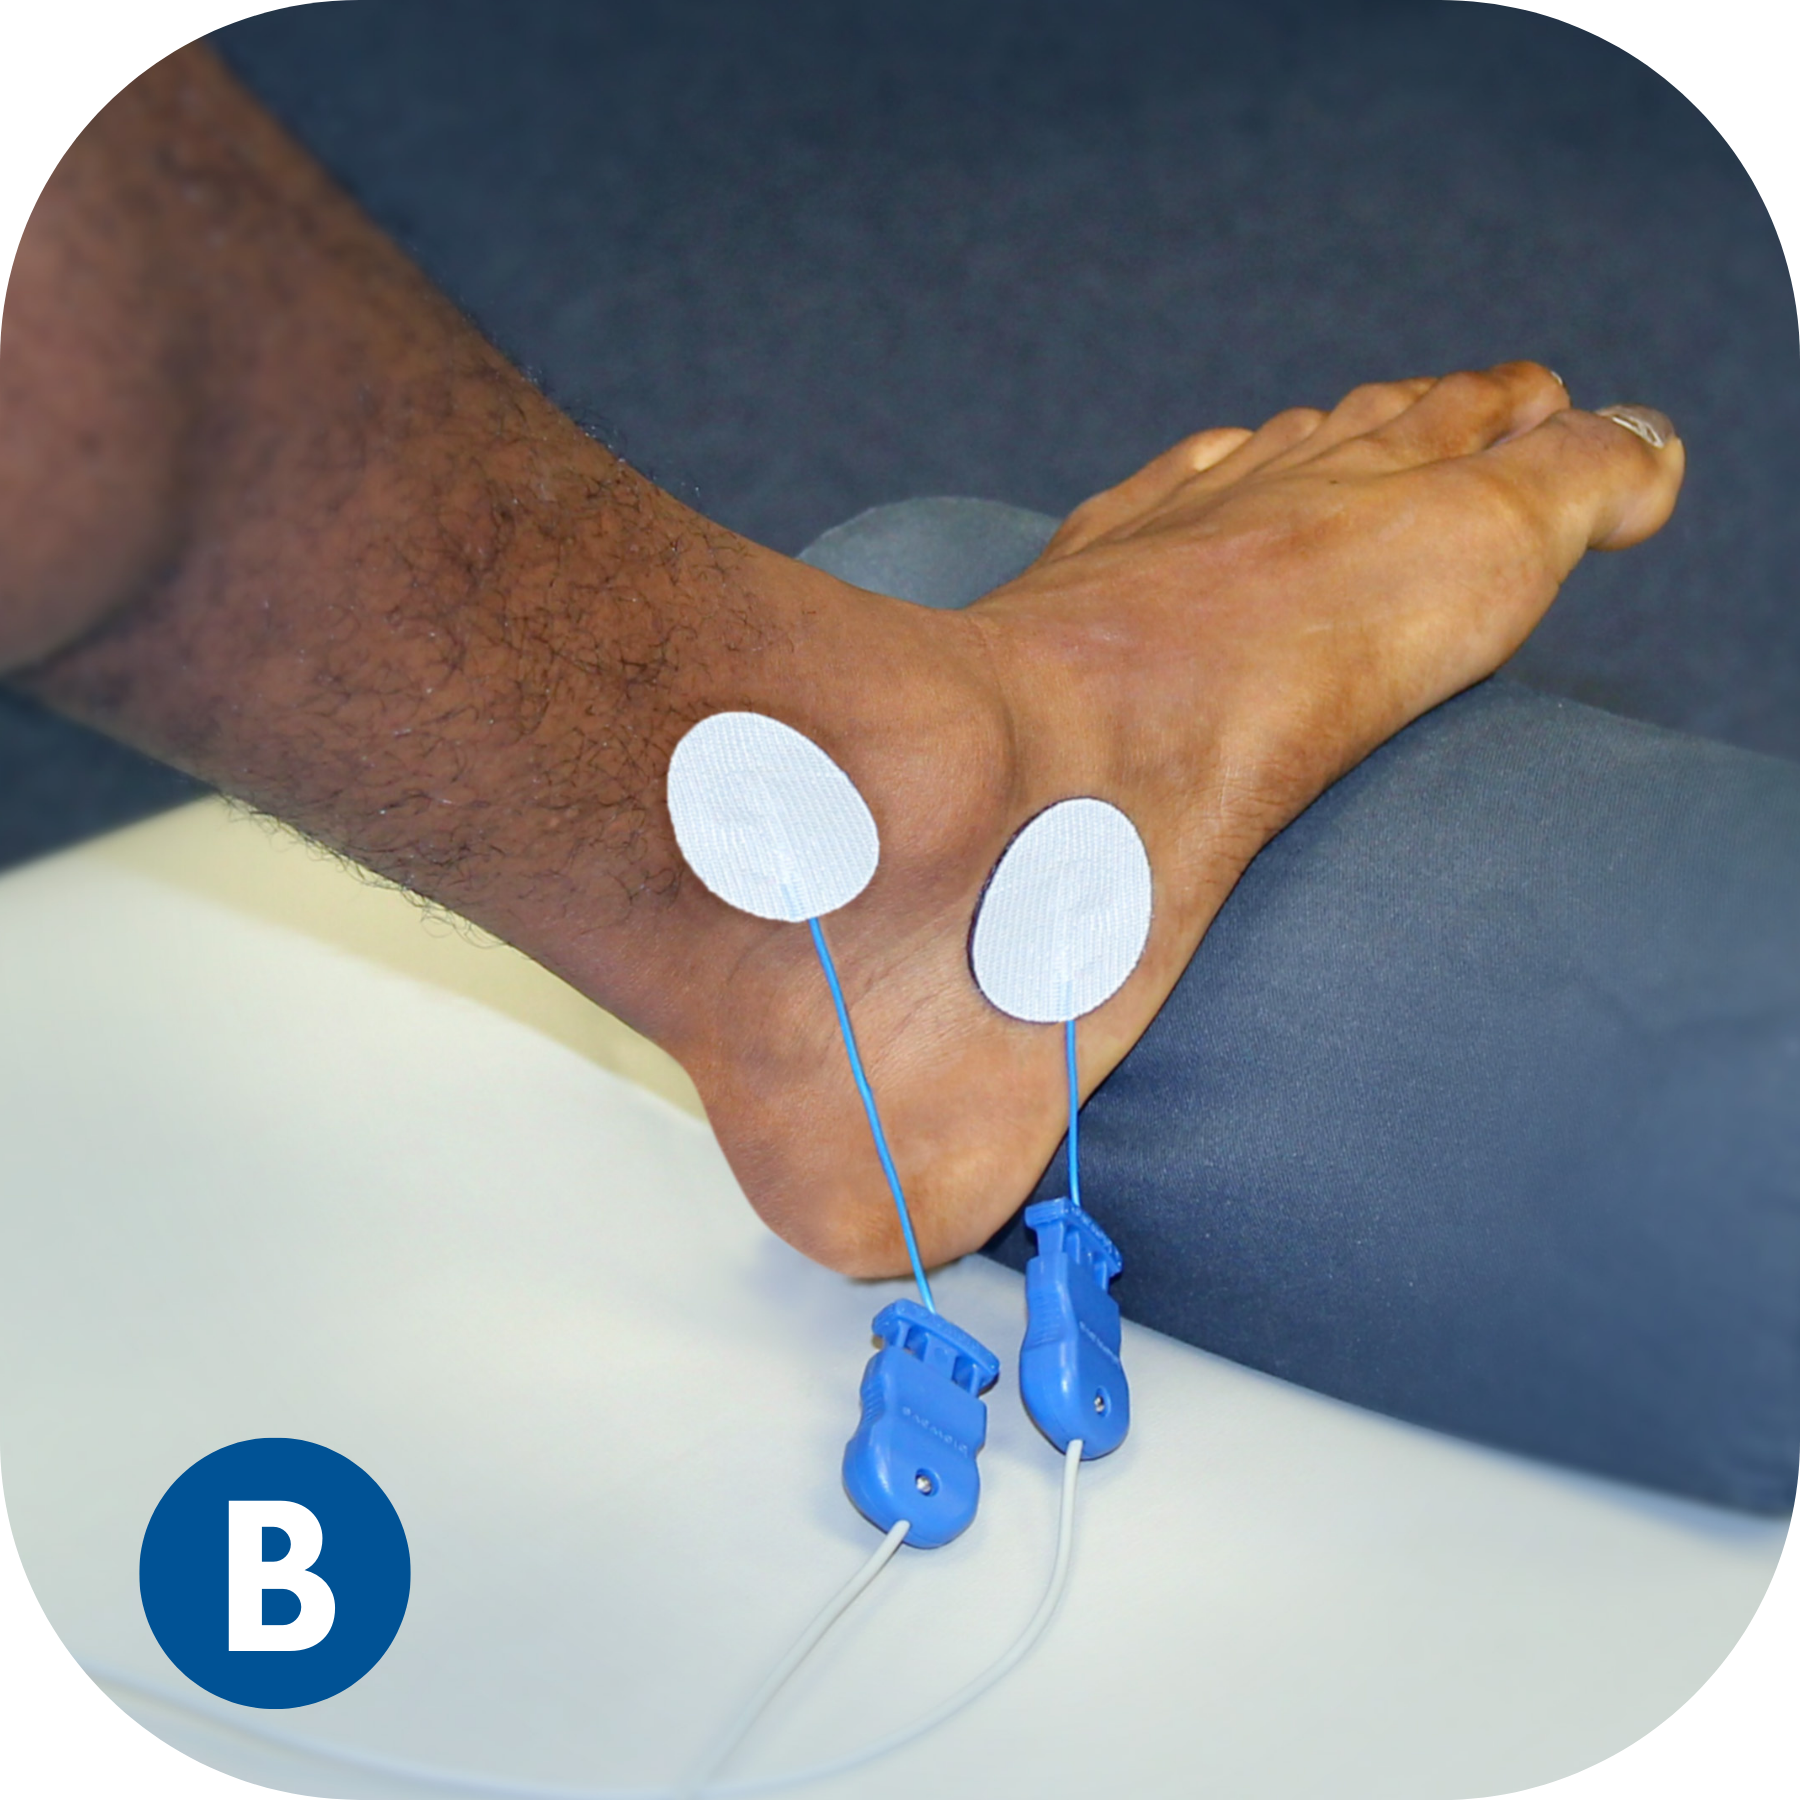
Ankle or Foot Pain on Inside of Foot
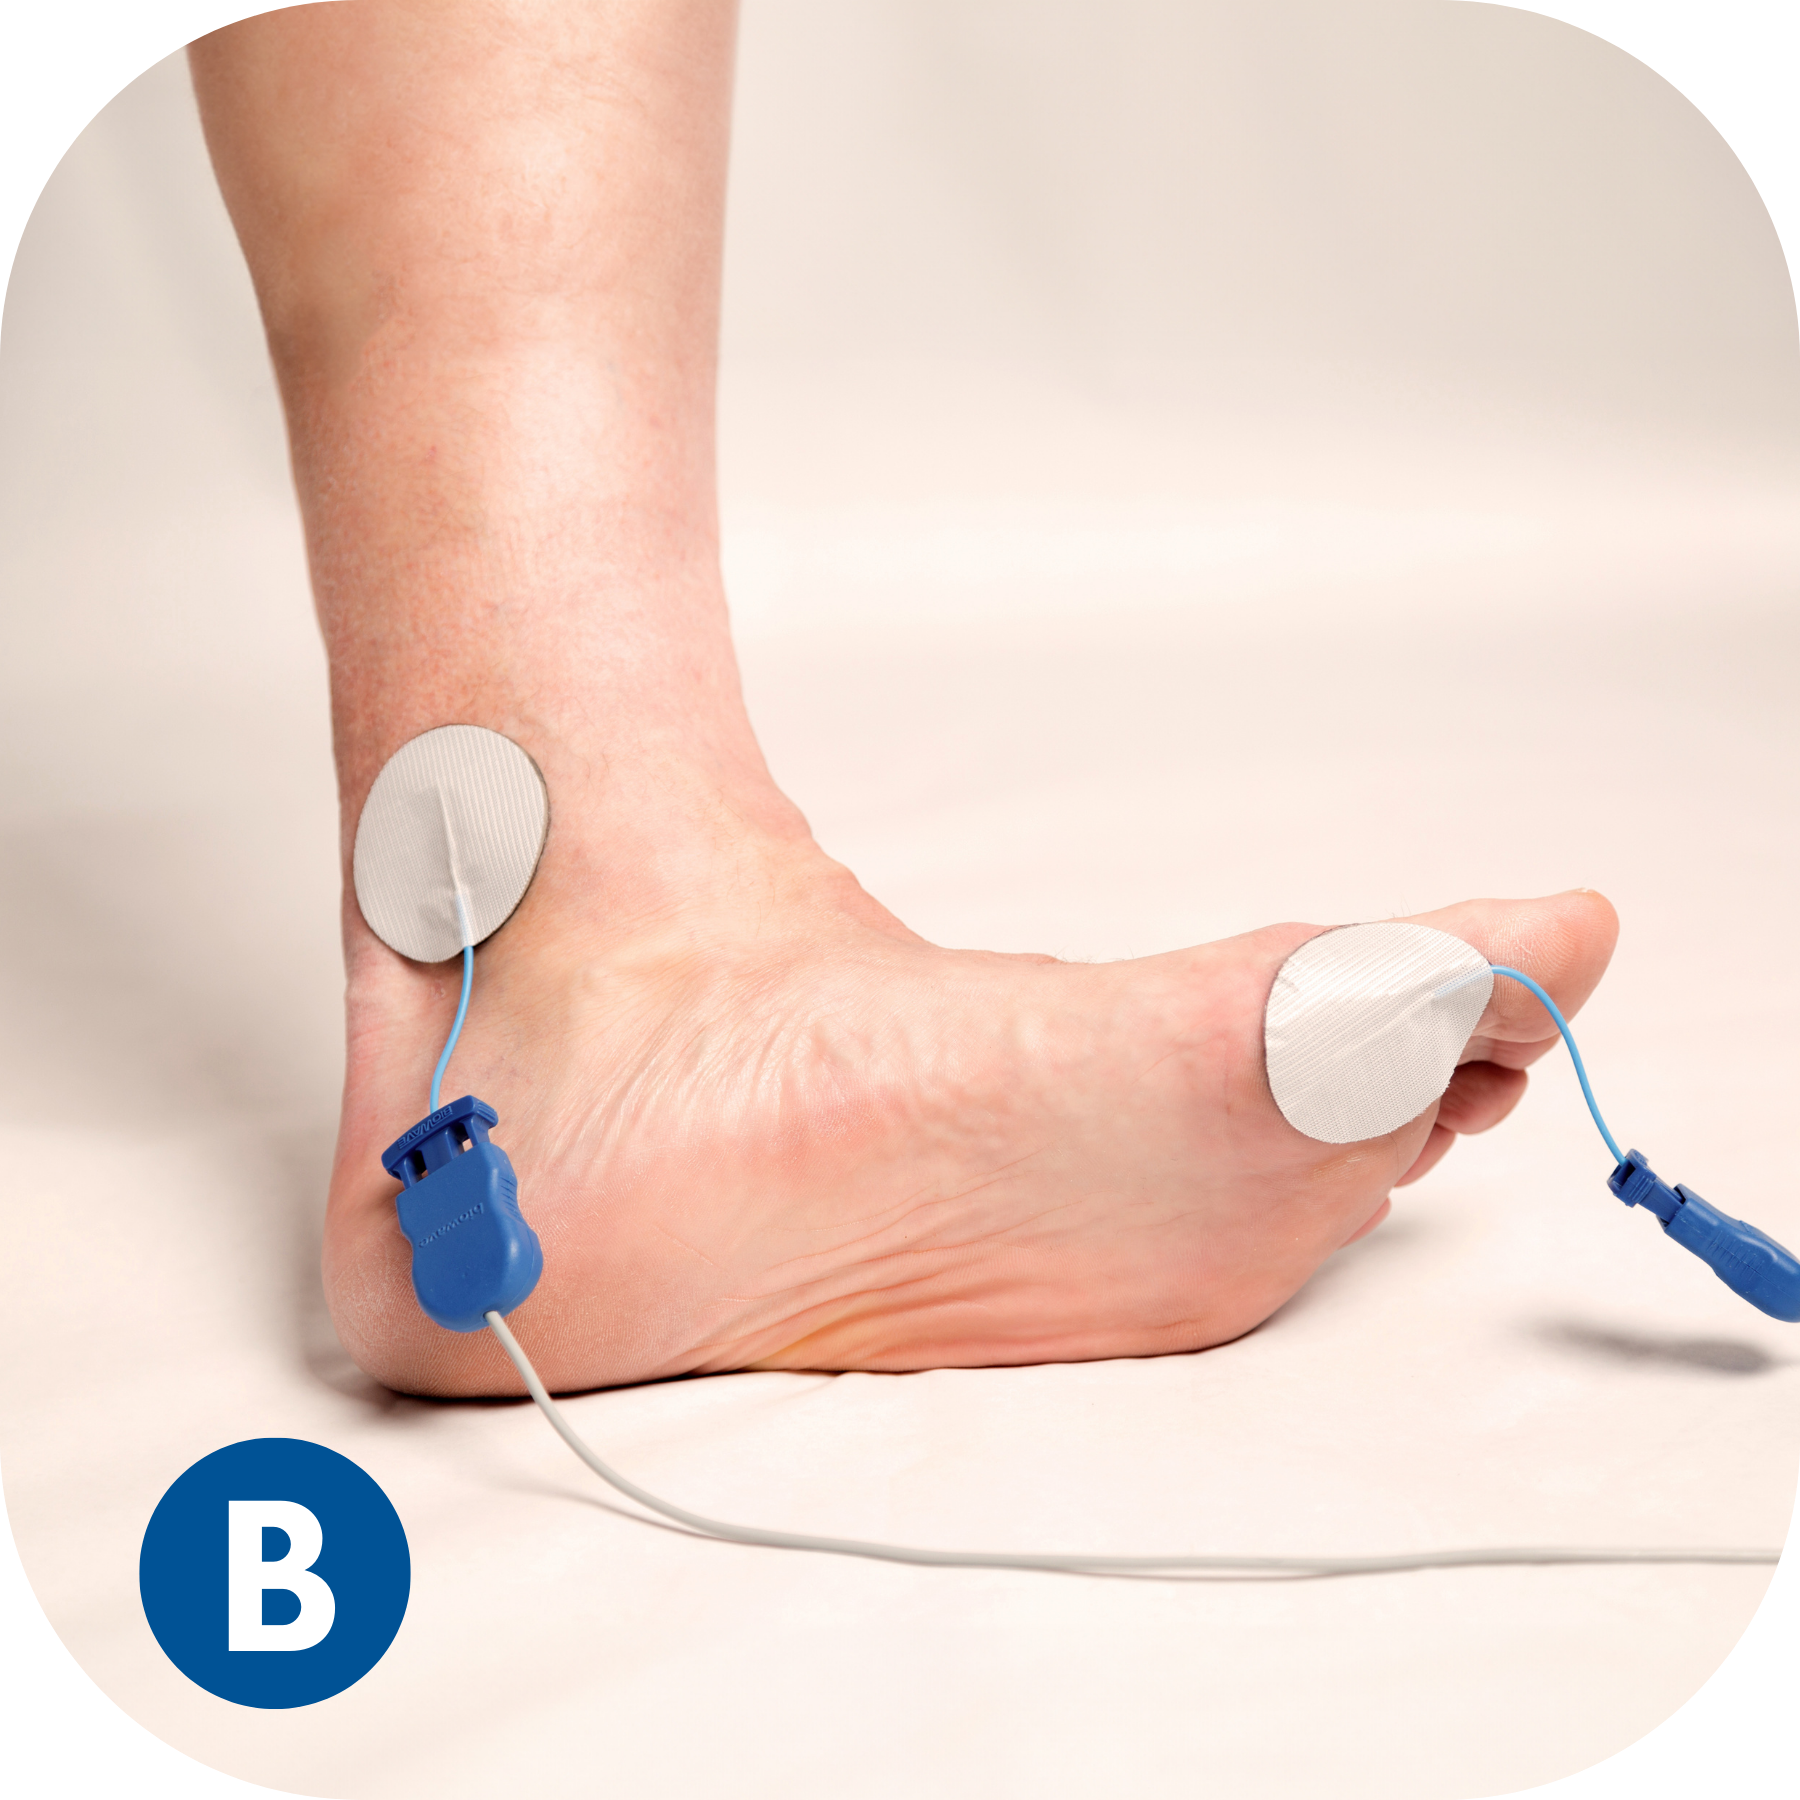
Pain from Diabetic Neuropathy (Tibial Nerve)
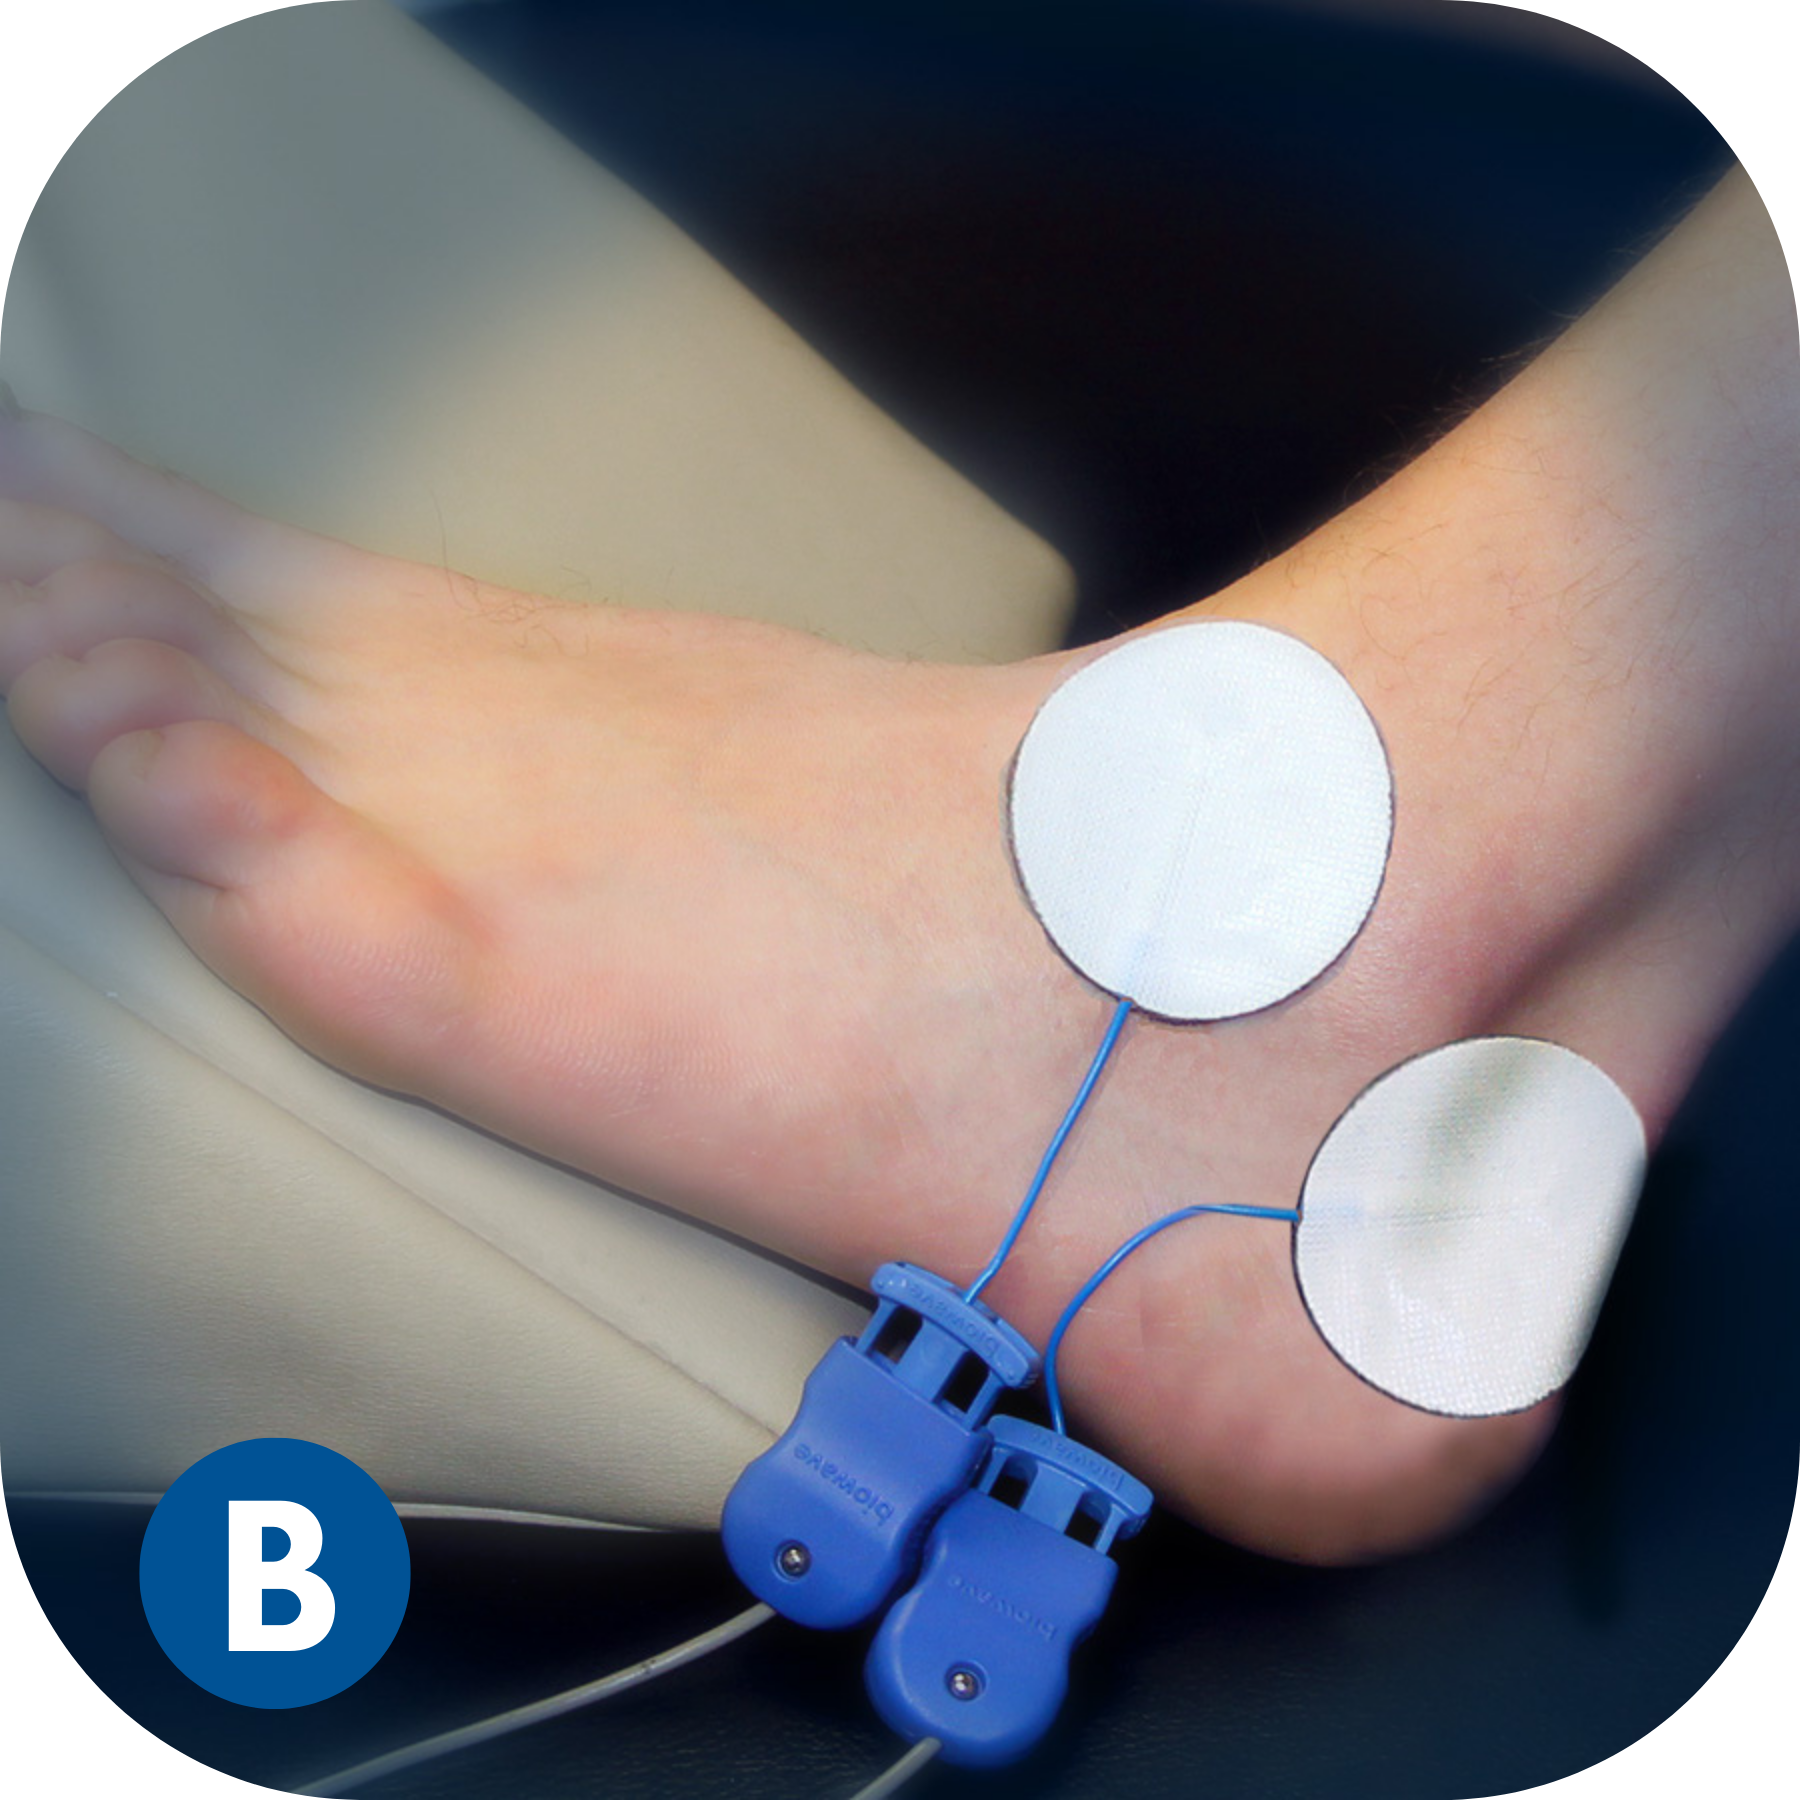
Ankle or Foot Pain on Outside of Foot (Sprain)
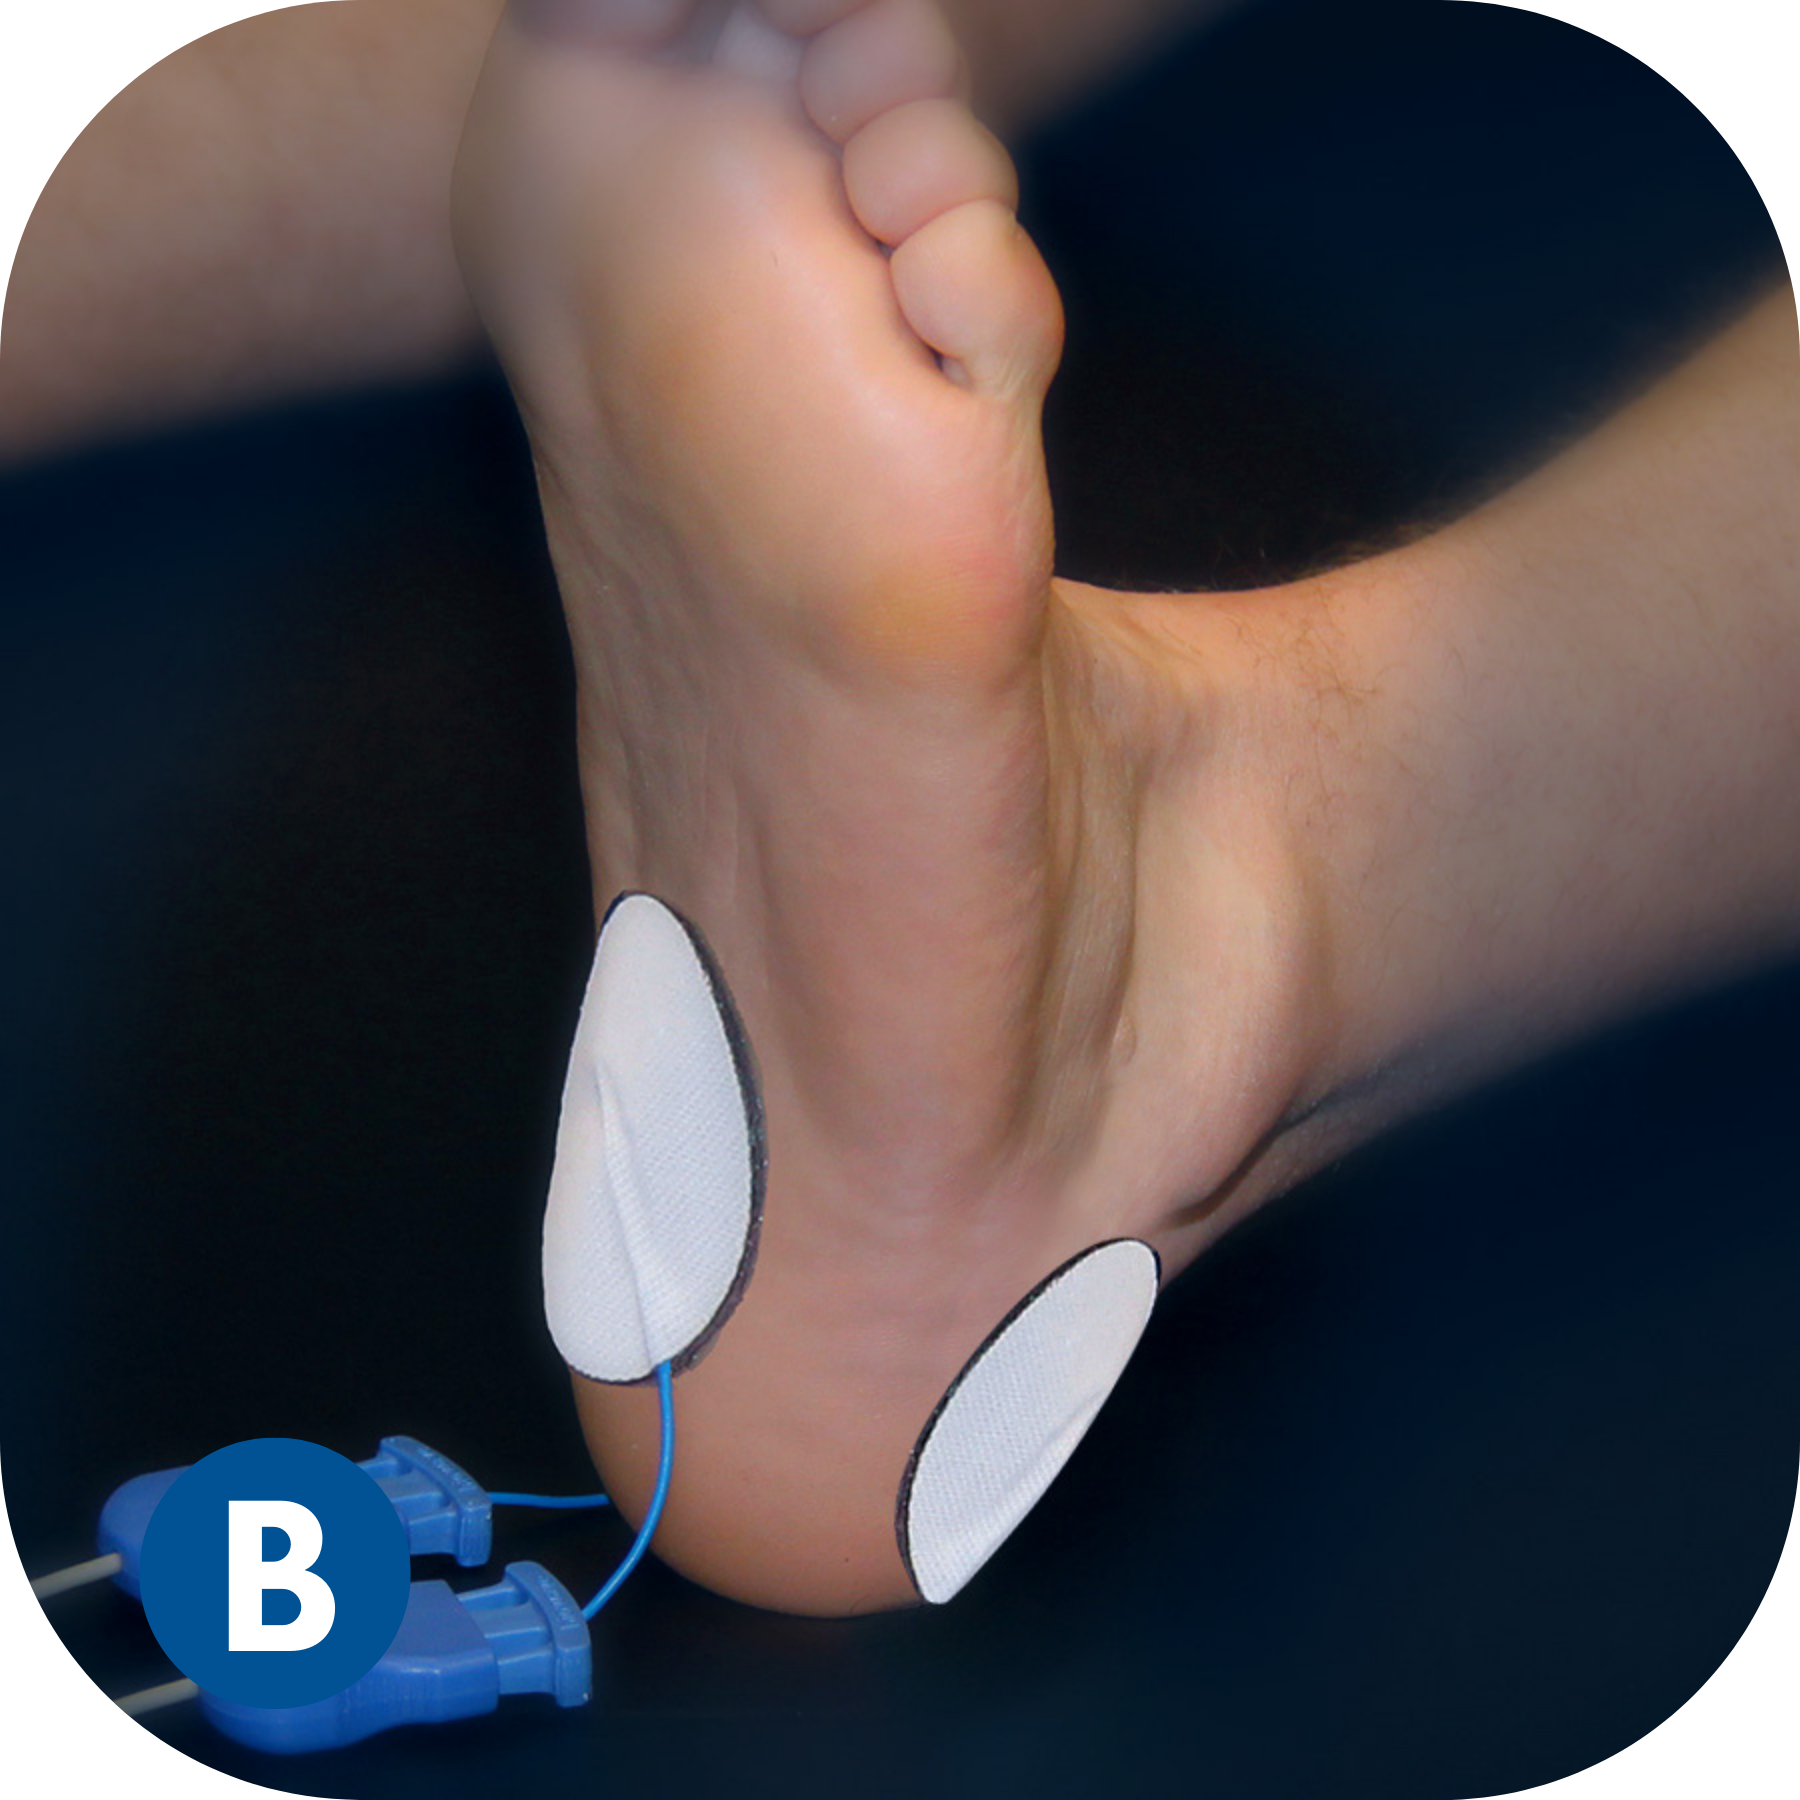
Pain in Bottom of Foot (Plantar Fasciitis)
Directions for Use
See Quick Reference Guide for Detailed Instructions
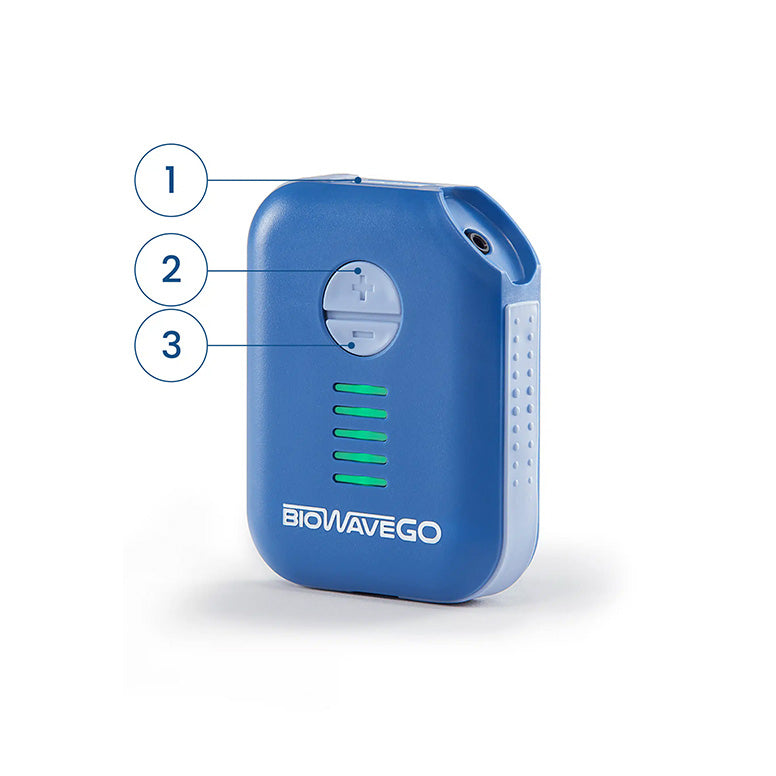
Quick Reference Guide
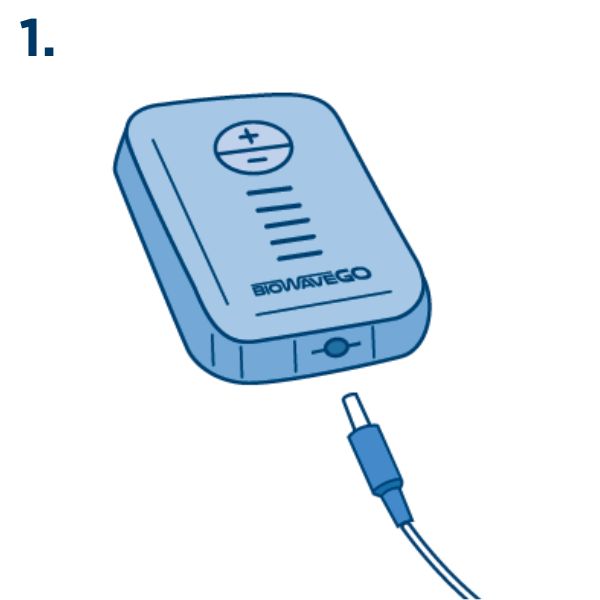
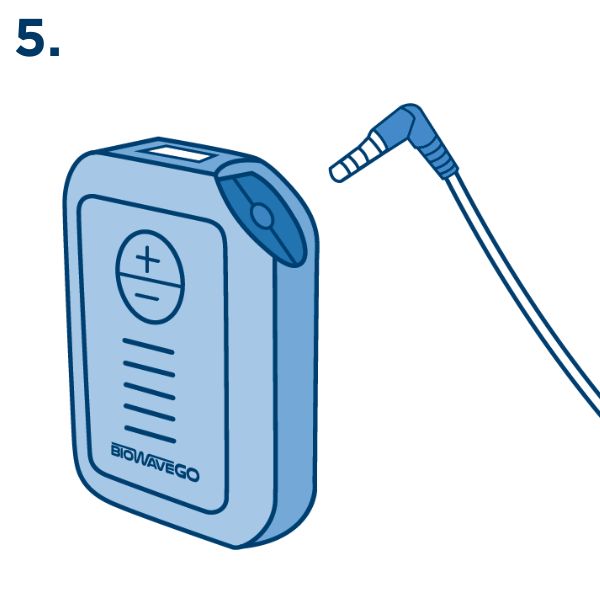
There are 3 buttons that control the device:
- Power ON/OFF button
- PLUS (+) button to increase intensity
- MINUS (–) button to decrease intensity
Important:
- Turn on device AFTER you have completed the first 4 steps below in Direction for Use.
- Please charge battery at least 1x per week.
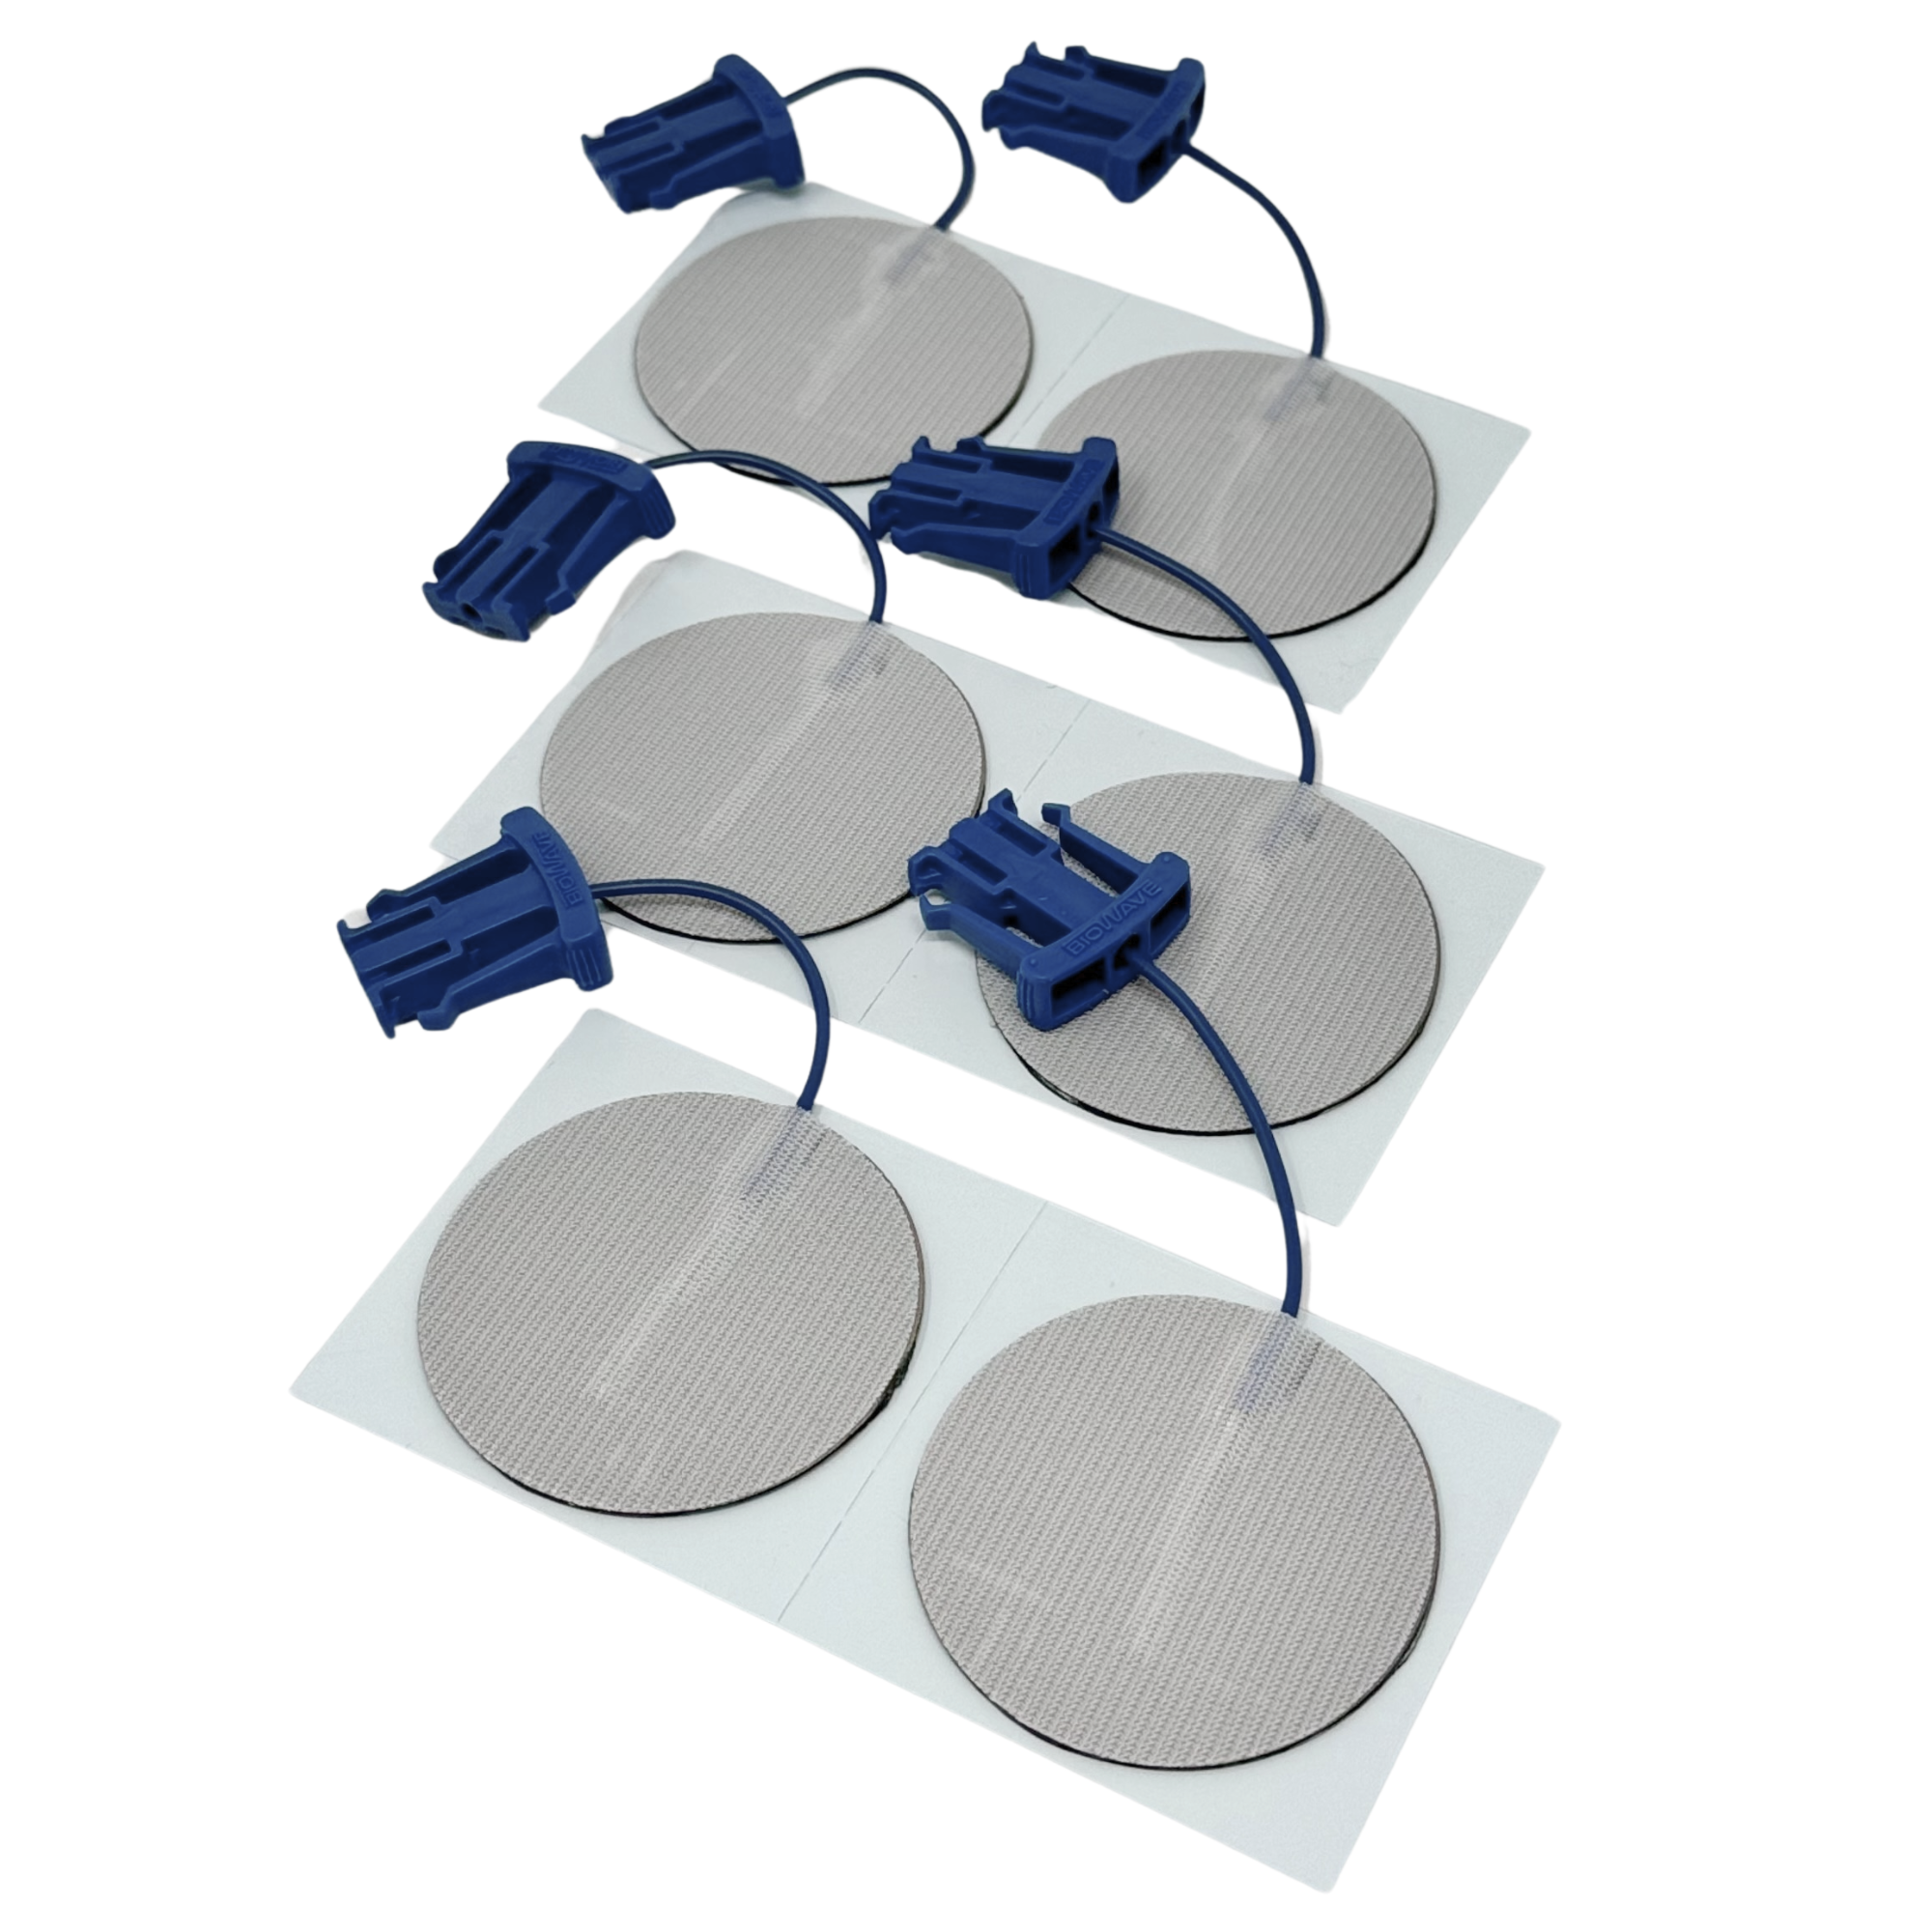
LED Bar Graph Indicator
The LED bar graph provides treatment information in different colors
Need Assistance? We're Here to Help! Call Us for Step-by-Step Guidance at 1-877-246-9283
Our team is ready to walk you through every step of the process. Call us now, and we'll ensure you get the best possible experience. Plus, as a special offer, when you call, we'll throw in an extra set of electrodes!
BioWaveGo Quick Reference Guide
Immediate, easily accessible information and instructions on how to use your BioWaveGO
BioWaveGO User's Manual
Comprehensive, detailed information and instructions on how to use your BioWaveGO
Important Contraindications - When NOT to Use BioWaveGO
Do NOT use BioWaveGO if you have an implanted cardiac pacemaker.
Do NOT use BioWaveGO if you have epilepsy or are prone to seizures.
Do NOT place electrodes over the heart, or across the thoracic volume. Electrodes can be applied to the back of the thorax and lateral aspect of the upper limb (i.e. below/down the shoulder).
Do NOT place electrodes on the front or side of the neck.
Do NOT place electrodes on top of the head.
Do NOT place electrodes over open wounds, broken skin, rashy skin or sensitive areas.
NOTE: Electrodes MAY BE PLACED directly over or in the proximity of implanted metal hardware including total joint replacements, rods, plates, screws, anchors and pins. See User’s Manual for more information.
ELECTRODES (PADS) MUST NEVER TOUCH EACH OTHER DURING THE TREATMENT
- 1.0 inch (2.6 cm) is the minimum spacing between Pads.
- There is NO maximum spacing between any Pads.
- If the edges of the Pads touch during the treatment, it may cause a burn.
- Pads typically can be reused about 8-10 times.
Warning: Electrodes must never touch each other
Minimum Spacing Between Electrodes = 1 inch
No Maximum Spacing Between Electrodes
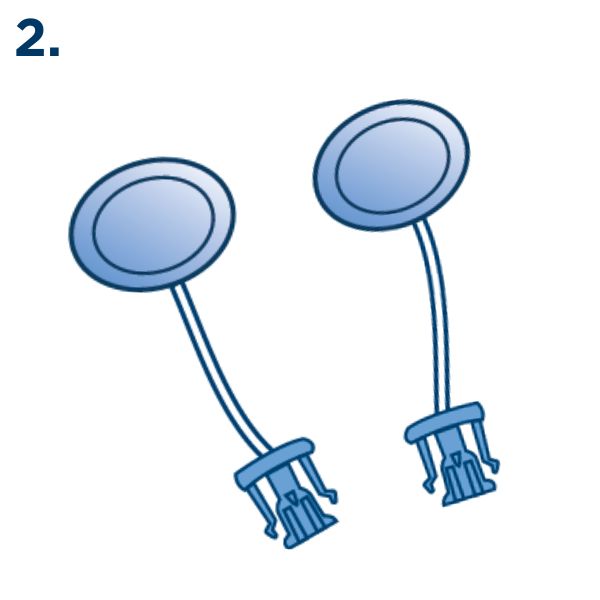
Do NOT use electrodes if:
• The metal portion of the wire is exposed; or
• The gel has peeled apart from the black carbon surface
BioWaveGO Pro Tips
Body position during treatment
Position of the body during treatment is important. Generally, the tissue being treated should be a little taut or in a stretch position. Generally, sitting in a supported position in a chair, couch, or bed is best for most treatment locations on the body. See User’s Manual for more detailed information on optimal Body Position for different treatment locations.
Motion during treatment
The sensation from the treatment is a deep smooth tingling and pressure sensation as the muscle is held in tension in the volume of tissue being treated. Motion may cause a stonger or weaker sensation and will cause the location of the internal electrical field to shift slightly. Shifting of the electrical field is most prevalent when treating the shoulders, elbows, wrists, hands, fingers, and feet.
The goal is to gently move the joint at the location to shift the sensation caused by the electrical field so that it focuses directly onto and encompasses the primary location of pain. This is a fine tuning of the treatment that will provide the best treatment results.
Electrode Placement Rationale
BioWaveGO electrode placements are different from conventional electrical stimulation. The mixing of the patented therapeutic signals occurs in a 3.5-inch hemishpere, not along the surface of the skin between the electrodes. As a result, electrodes need to be placed directly over locations of pain, or one electrode over a single location of pain and a second over a comfortable location to recieve stimulation – typically over a bony prominence near the treatment site.
Why You'll Love BioWave
BioWave Reviews
Don't Forget to Register Your BioWaveGO!
Secure the peace of mind of a one-year warranty.


Relieve, Recover & Reclaim Your Quality of Life
Simple Doctor Recommended Techniques to Quickly Alleviate Pain, Sleep Better & Reduce Your Stress
By downloading you agree to the BioWave Privacy Policy
